XLIFF Transfer for Articulate Rise Courses
Transfers a translated Rise XLIFF file to another copy of the same course.
Download the tool (zip) Read the user guide
The download is a zip file. Unzip it, then open the HTML file in a web browser.
By downloading or using this tool, you accept the Terms of use. You use it at your own risk and on your own responsibility.
Problem
Rise only imports an XLIFF file into the course that exported it. A translated XLIFF from one copy of a course is rejected by another copy, even though the content is the same.
Solution
XLIFF Transfer takes a new XLIFF export of the new course and fills it with the text from your earlier file. It lists which segments were carried over, which need checking, and which were left as in the new course.
Steps
- Add the XLIFF you worked on, from the old course.
- In Rise, export a new XLIFF from the new course and add it. Do not edit this file.
- Read the summary and review the segments marked “To check”. Untick any row you do not want carried over.
- Download the XLIFF for the new course.
- In Rise, import the file into a duplicate of the new course first and check the result.
Read the full user guide below. It is also inside the tool: select the ? button at the bottom right of the tool.
Compatibility
XLIFF 1.2 files exported from Articulate Rise. Storyline blocks, survey blocks, code blocks, question banks and interface labels are not part of a Rise XLIFF.
User guide · version 1.2.3
How to Reuse a Rise XLIFF Translation in a Copy of the Course
1. About the tool
Rise only imports an XLIFF file into the course that exported it. If a client sends a new copy of a course after you have worked on the XLIFF of an earlier copy, Rise rejects your file with “XLIFF translation file doesn’t match the course”, even though the content is the same.
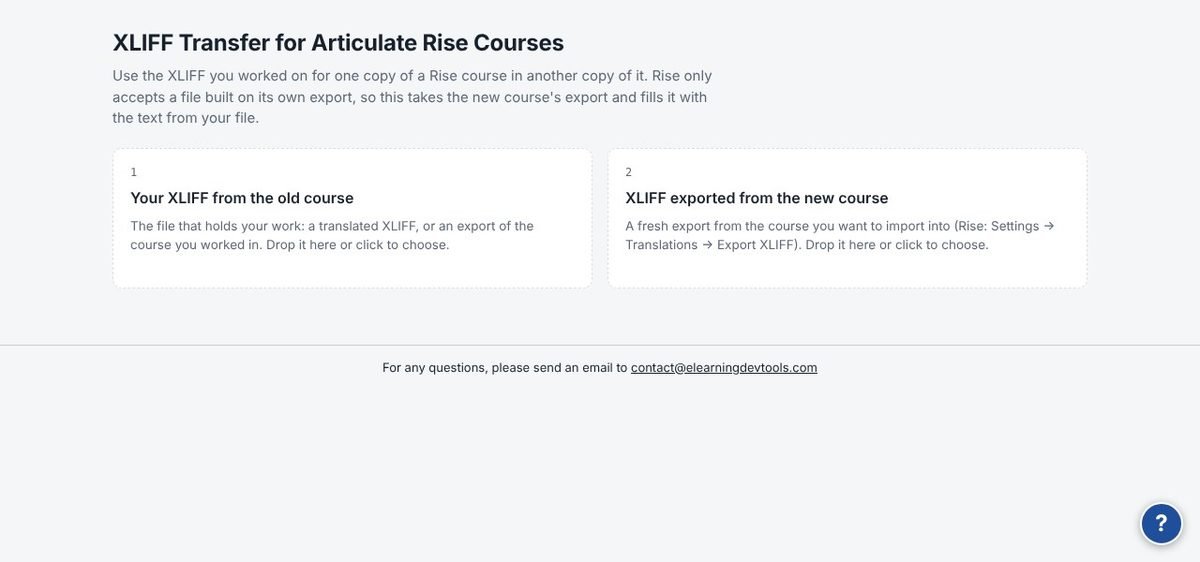
XLIFF Transfer takes a fresh XLIFF export of the new course and fills it with the text from your earlier file. The result is a file Rise accepts for the new course, with your work in it.
The tool runs entirely in your browser; no files are uploaded to any server and no internet connection is needed. It works with XLIFF 1.2 files exported from Articulate Rise.
2. Prepare the two files
- Your XLIFF from the old course. This is the file that holds your work: either a translated XLIFF, or an XLIFF exported from the old course after your work was imported into it.
- A fresh XLIFF from the new course. In Rise, duplicate the new course, open the duplicate, and choose Settings → Translations → Export XLIFF file. Keep “Include HTML formatting” ticked. Do not edit this file.
3. Transfer your work
- Open
xliff-transfer-for-articulate-rise-courses-v1.2.3.htmlin your browser. - Drop your XLIFF from the old course on box 1 and the fresh export of the new course on box 2. You can also click a box to choose a file.
- Read the summary and review the list (section 4). Untick any row you do not want carried over.
- Enter the target language code if you want it written into the file (for example fr-ca).
- Click Download the XLIFF for the new course.
- In Rise, open the duplicate of the new course and choose Settings → Translations → Import translated text.
4. Review the results
The four tiles summarize what happens to every segment of the new course. The list below them shows each segment, the text taken from your file and the reason for the result. Use the filters and the search box to narrow the list.
| Result | Meaning |
|---|---|
| Carried over | Your text is written onto the matching segment of the new course. |
| To check | Your text is carried over, but something changed between the two courses: the original wording was edited, the formatting differs, or a block was rebuilt. Read these rows before importing. |
| Left as in the new course | Nothing is written: the text is the same in both files, the segment is new in the new course, or you unticked the row. |
| Old segments with no place | Text in your file whose segment no longer exists in the new course. Listed under “Old, not used”. |
The “Use” box decides whether a row is written into the file.
5. How segments are matched
The tool chooses the method from your file.
| Your file | How it is matched |
|---|---|
| Your file has translations | Each translation is matched by segment ID and original text. Two options appear: reuse a translation wherever the same original text is repeated, and keep the old translation where the original text was edited (marked “To check”). |
| Your file has no separate translations | The text itself is matched segment by segment using Rise’s IDs. A duplicated course keeps its segment IDs and only the lesson IDs change, so the tool pairs the lessons first. Text that is identical in both files is left alone. |
With two files, the tool cannot tell your changes from the client’s. Where the texts differ, yours is used. To keep the client’s changes, add the untouched export of the old course under “Optional”: only what you changed is then carried over, and segments changed on both sides are marked “To check”.
6. Custom blocks
Rise gives every custom block new IDs when a course is duplicated, so they cannot be matched by ID. The tool pairs them by their layout. When several custom blocks share the same layout the pairing is a best guess and is marked “To check”.
For an exact pairing, add the web export (.zip) of both courses with the two buttons that appear when custom blocks are found. In Rise, choose Export → Web for each course.
7. What a Rise XLIFF contains
Only content that Rise exports to XLIFF can be transferred. The rest must be handled in Rise after the import.
| In the XLIFF | Not in the XLIFF |
|---|---|
| Course, lesson, section and quiz titles and descriptions | Storyline blocks |
| Text, statement, list and table blocks | Survey blocks |
| Image alt text and captions | Code blocks |
| Accordion, tabs, process, timeline, labeled graphic and flashcard blocks | Question banks |
| Knowledge checks and quiz questions, answers and feedback | Video captions and text inside media |
| Continue buttons | Interface labels (Settings → Labels) |
| Custom blocks | Hidden or empty fields |
8. Good practice
- Import into a duplicate of the new course first and check the result before working on the real one.
- Do not edit the new course between exporting its XLIFF and importing the result.
- If Rise reports any other error, export a fresh XLIFF from the new course and run the transfer again.
For any questions, please send an email to contact@elearningdevtools.com